What to Do When Your Linux System Hits a Kernel Panic
When I turned on my Beelink Ser6 at home one evening, I was greeted with a Kernel Panic 😱.
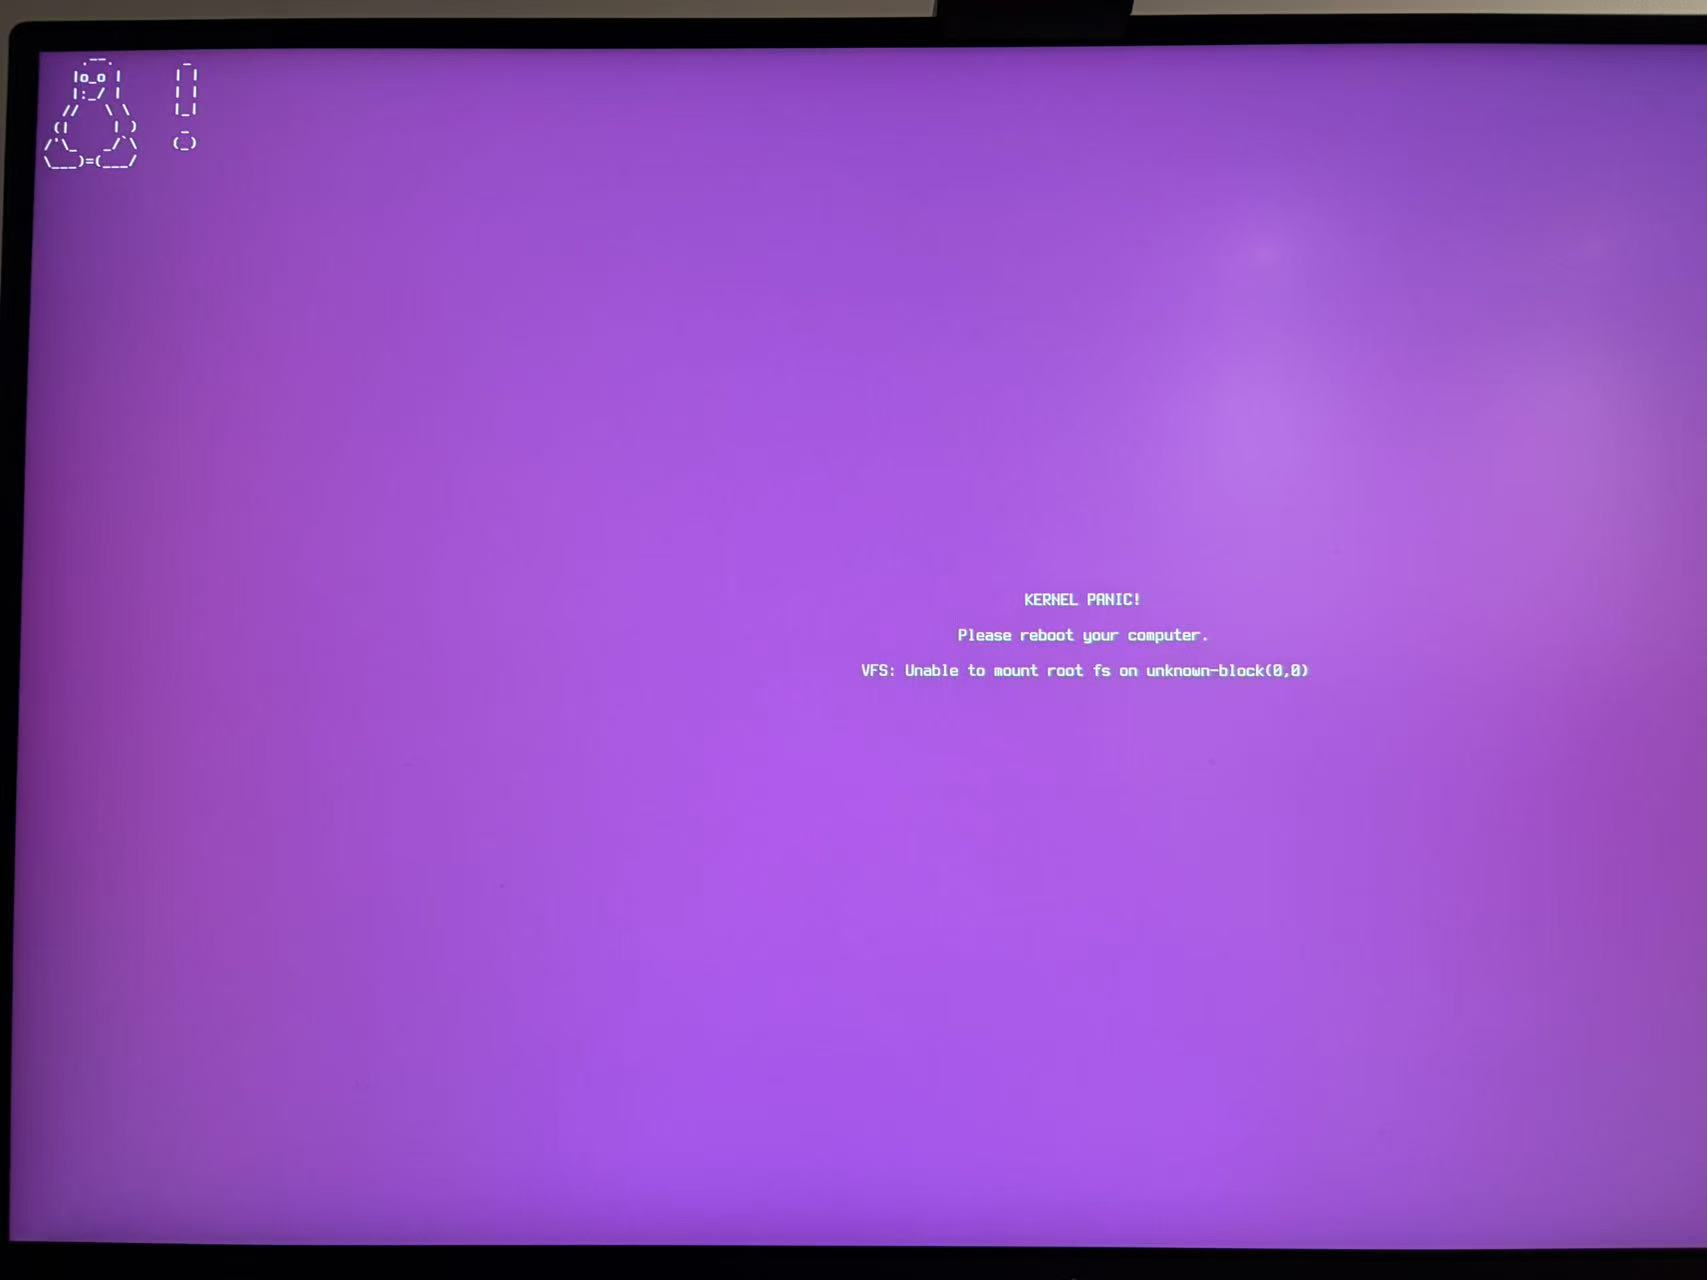
A lot of people panic at this point, but there’s really no need. All you need is a LiveUSB boot stick to fix it.
However, my Ubuntu install had been running stably for over a year and I didn’t have a LiveUSB lying around at home. Helplessly, I dug out an old computer that had been gathering dust for years, and spent half an hour guessing the login password before finally getting in… then downloaded the Ubuntu ISO and made a LiveUSB.
Below is the troubleshooting process I used after booting from the LiveUSB and entering Try Ubuntu’s Terminal, for your reference.
1. Find the Root Partition and EFI Partition
lsblk -f
This returns something like the following, where the vfat format is the EFI partition and ext4 is the system root partition:
NAME        FSTYPE   LABEL  UUID                                 MOUNTPOINT
nvme0n1
├─nvme0n1p1 vfat           1234-5678                            /boot/efi
└─nvme0n1p2 ext4           955b06a9-983d-4e04-b2ef-60b559db46e6
2. Use fsck to Repair Partition Errors
Note: in this step and beyond, the partition path needs to be replaced with the one from your system found in the previous step.
First, repair the root partition:
sudo fsck -f /dev/nvme0n1p2
When prompted, enter y to allow, or a to allow all. I discovered several errors at this step and successfully fixed them.
Next, check and repair the EFI partition:
sudo fsck -f /dev/nvme0n1p1
At this step I got the following prompt:
there are different between boot sector and it's backup:
1) Copy original to backup
2) Copy backup to original
3) No action
Based on what I found online, if the system can boot into GRUB normally, the original sector is good, so I chose 1) Copy original to backup to copy the original boot sector to the backup sector.
3. Mount the Original System and Rebuild initramfs
In this step, mount the original system’s root partition into the current LiveUSB system. To run the necessary commands, also bind-mount four key directories from the LiveUSB system onto the original system.
sudo mkdir -p /mnt/ubuntu
sudo mount /dev/nvme0n1p2 /mnt/ubuntu


sudo mount --bind /dev /mnt/ubuntu/dev
sudo mount --bind /proc /mnt/ubuntu/proc
sudo mount --bind /sys /mnt/ubuntu/sys
sudo mount --bind /run /mnt/ubuntu/run

sudo mount /dev/nvme0n1p1 /mnt/ubuntu/boot/efi
After this, you can switch into the original system’s root shell:
sudo chroot /mnt/ubuntu
Then install GRUB and regenerate the initramfs boot image for the system kernel. Adjust the arguments to grub-install to match your system.
grub-install --target=x86_64-efi --efi-directory=/boot/efi --bootloader-id=ubuntu
update-initramfs -c -k all
update-grub
Finally, exit the original system’s root shell and reboot:
exit

sudo reboot
Pull out the USB stick and boot into the original system—I was able to log in normally at this point.
Summary
- Don’t panic.
- Keep a LiveUSB at home.
- Use the
fsckcommand to repair partition errors. - Use
mountto bind the necessary filesystems onto the original system, enter it, and rebuild initramfs.